Well my lovelies, I'm sitting here in bed trying to organise my thoughts so as to make a sensible, flowing blog post for you but there is so much I want to share with you all and I'm so far behind this year that I shall just dive in and splash some photos and words about.
Our exhibition at The Station in Richmond has been and gone. Here I am with Sue trying not to look too sweaty and dishevelled after spending an afternoon up and down step ladders hanging our work on the platform gallery.
Sue has exhibited her work here before but this was a first for me, hanging my work from proper gallery fittings and locking my greetings cards in a glass display cabinet. Ooo! it felt very grown up! A nice change from trying to make a sheep pen look like an art gallery! (Not long to Art in the Pen and Yarndale ;)
The Station is a lovely venue... an old railway station that has had a new lease of life as a cinema, art gallery and retail outlet with a restaurant, vintage shop, artisan bakery, chocolatier, ice-cream parlour, cheese maker and micro brewery. Something for everyone eh!
Sue and I shared the space, mixing her work and mine on some walls
and keeping them separate on others.
'Heather Rest'
On the middle Saturday of our two week exhibition Sue and I had a 'meet the artist day'. Sue took her pastels and paper while I demonstrated with water and wool. We had a lovely time chatting about our work and sharing some of the creative magic.
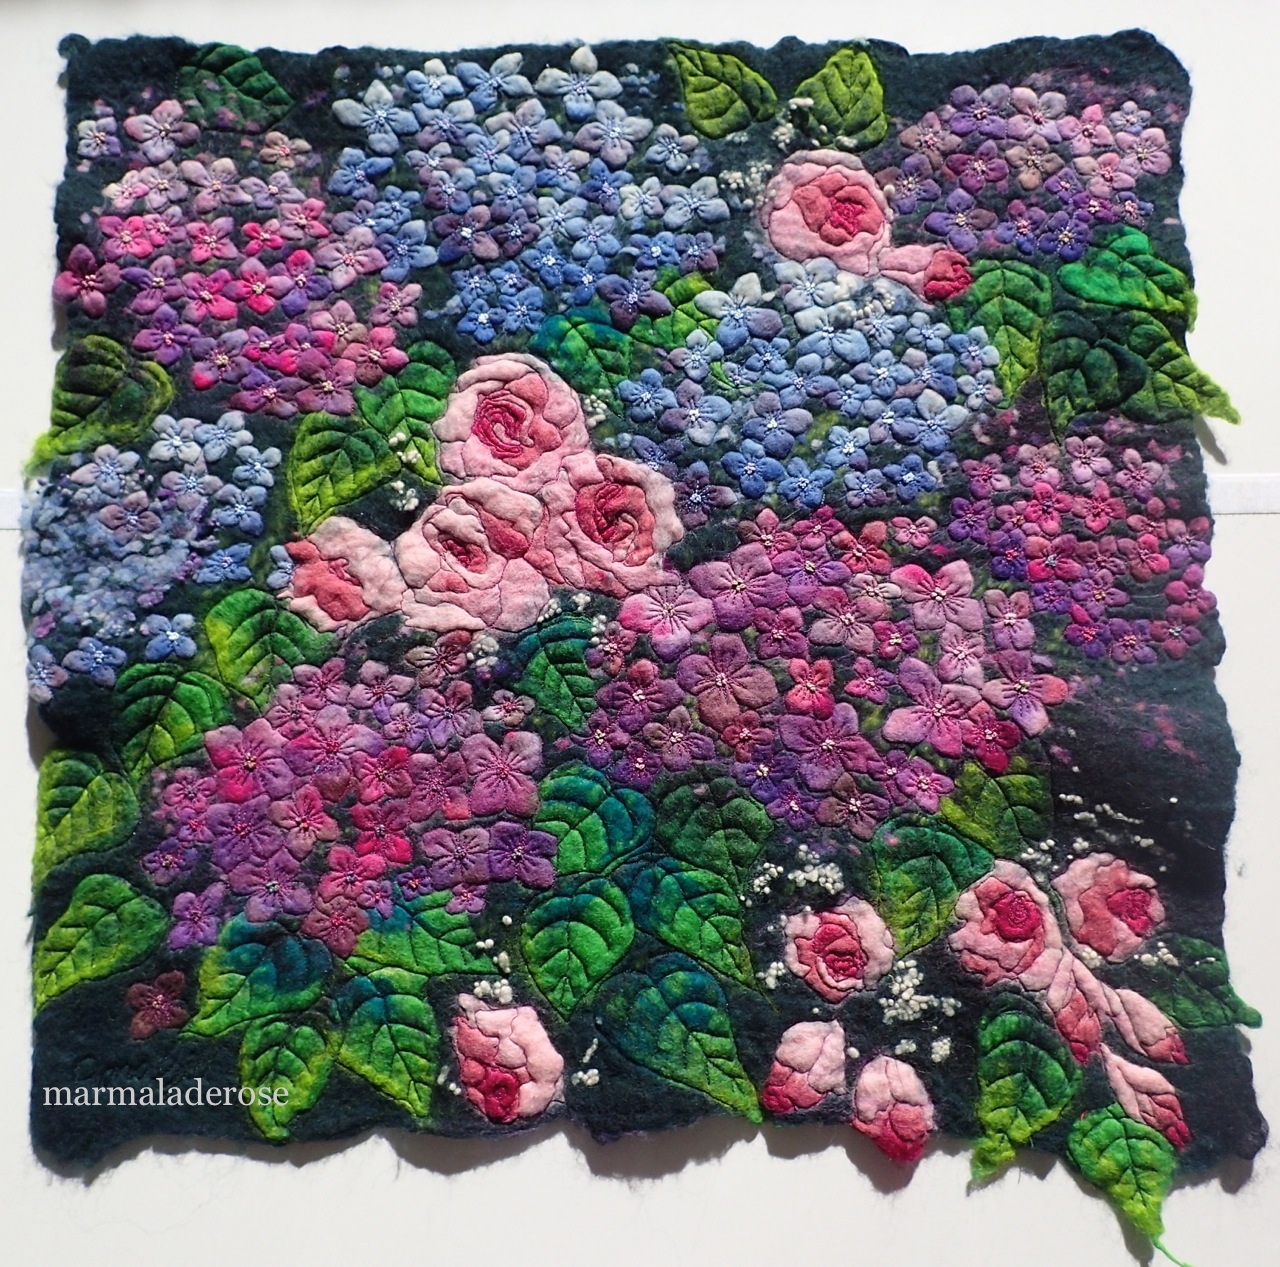
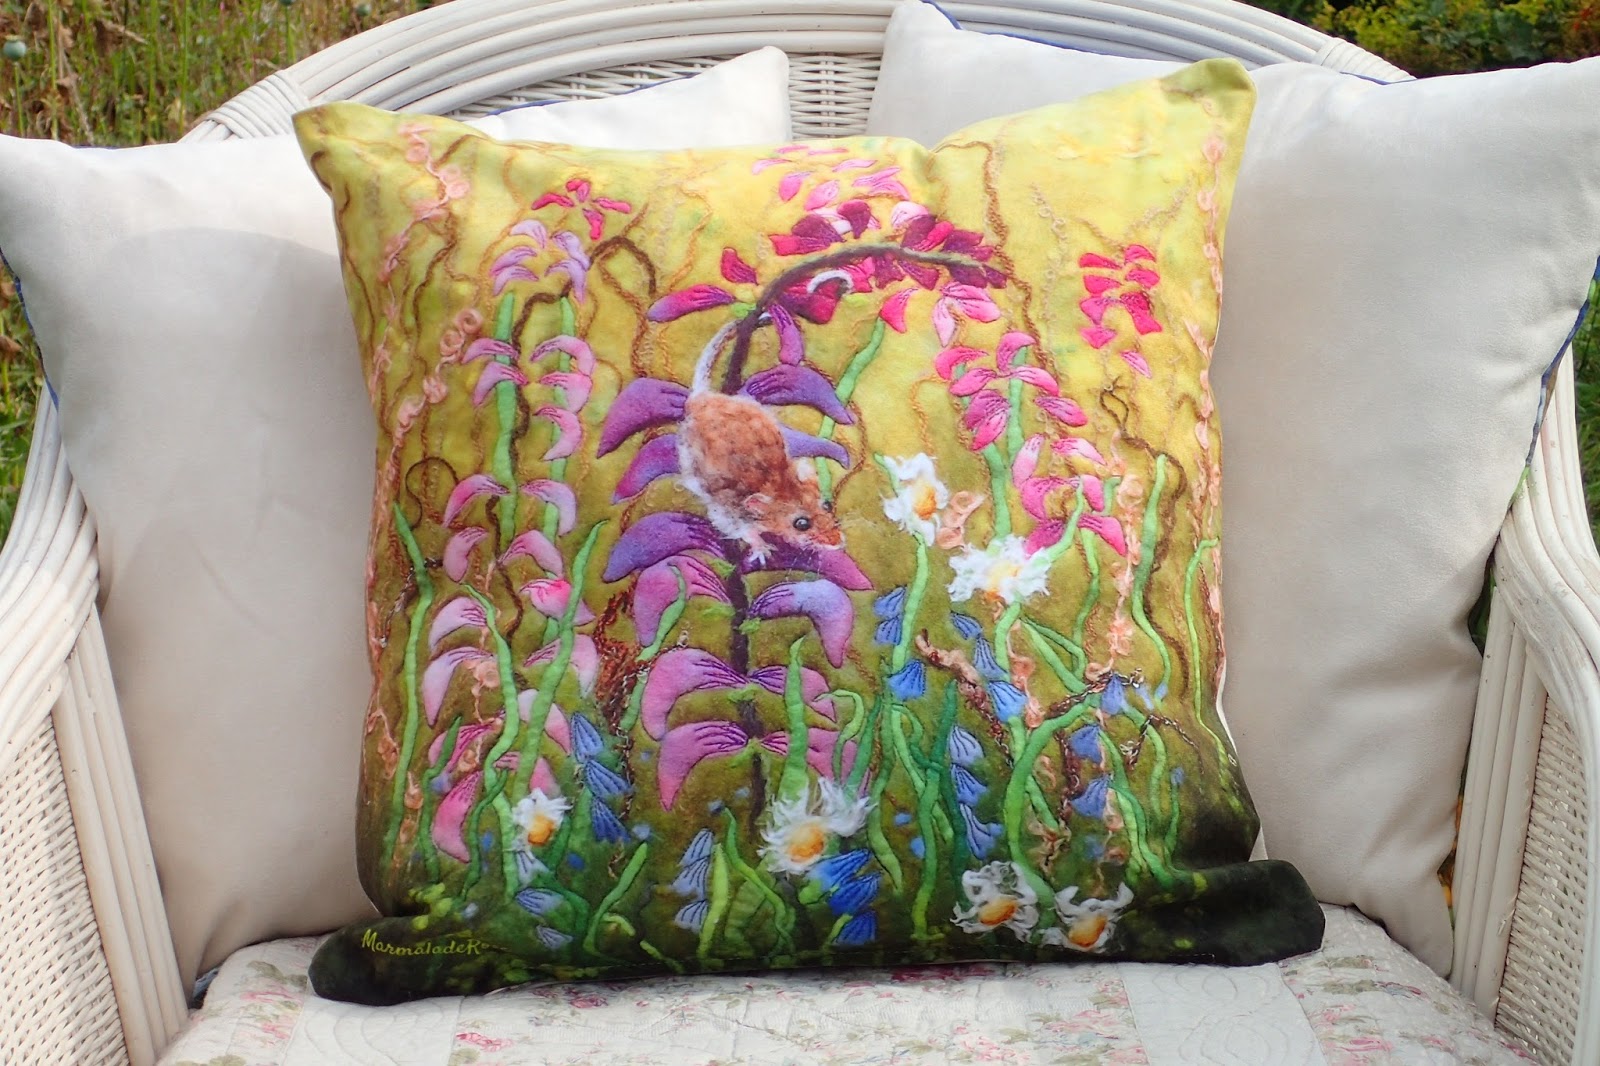
I can't help but delight at the sight of peoples faces when they first view my work thinking they are pastels or painting and then I point out that they are all made from wool. It's one of the best things ever, teehee!
'Robin with Berries'
Now I don't want you to think I'm greedy but this wasn't the only exhibition of my work. No, the day after we set up at Richmond, Wonderful Man and I dropped of some more of my work at the Royal Horticultural Society Gardens, Harlow Carr in Harrogate.
This is the Bath House in the RHS gardens where my work will be part of the 'Just Makers' summer art exhibition. I was a very good girl and took some photos of the current work on display to give you an idea of the crafts for sale.
Let's take a closer look.
Full of lots of quality craft items and artwork, beautifully displayed.
After a spot of lunch at the 'Betty's' outdoor tea room we took a little stroll around the gardens.
Hmmm...boxing hares, where have I seen those before!
The flowers were glorious.
A true inspiration.
Flower brooch anyone?
Till next time.
Love Fi x
PS. A small selection of felted flower brooches are available from my Etsy shop.


