 I knitted this kitty from this pattern but then decided I'd like to try and crochet one. The pattern below is made by me. It's the first pattern I've ever made. It's much simpler that it looks. Honestly! My crochet pattern is free for you to make but remains the intellectual property of Fiona Gill and is for personal use. Please do not copy this pattern or sell this pattern or kitties made from it unless they are for charity and then...make hundreds!
I've used 4ply cotton yarn and a 3mm crochet hook and UK crochet terms.
For anyone in the USA(double crochet, dc. in the UK is equivelent to a single crochet, sc in US terms.)
For anyone in the USA(double crochet, dc. in the UK is equivelent to a single crochet, sc in US terms.)
Body
ch 25.
Row1 - dc in 2nd ch from hook, dc to end. (24sts).Row2 - ch1, dc to end.
Continue in dc for a further 32 rows (34 rows in all). Fasten off leaving a tail for sewing up.
Head
ch 16.
Row1 - dc in 2nd ch from hook, dc to end.
Row2 - ch1, dc to end (15sts)
Continue in dc for a further 7 rows.
Row10 - dc2tog at each end of row (13sts) (you're decreasing one stitch at each end of the row)
Row11 - dc2tog at each end of row (11sts)
Row12 - dc2tog at each end of row (9sts)
Row13 - dc2tog at each end of row (7sts)
Row14 - dc2 in first st, dc to end of row dc2 in last st.(you're increasing one stitch at each end of the row)
Row15 - dc2 in first st, dc to end of row dc2 in last st.(11sts)
Row16 - dc2 in first st, dc to end of row dc2 in last st.(13sts)
Row17 - dc2 in first st, dc to end of row dc2 in last st.(15sts)
Continue in dc for a further 9 rows. Fasten off leaving a tail for sewing up.

On the left is the body, on the right is the head.

Fold the body piece like this and stitch up the legs leaving about an inch open at his tummy for stuffing.
 Fold the head piece in half and stitch up the sides. Stuff and stitch closed the top. Stitch across corners to create ears.
Tail.
ch2.
In 2nd ch from hook, dc 6.
Continue to dc these 6sts in a spiral until tail measures about 1inch.
dc twice into next st, continue crocheting in a spiral until tail is desired length (2inches) Fasten off leaving a sewing length.

In these pictures you can see the little tubey tail.

 Stitch your tail on your kitty and you're done.
I embroidered a face using a strand of black wool.
I hope you like it.
love Fi x
 Hello all.


 Love these mossy rocks.
 Our first
  After a quick cuppa and sarnie we detour through the campsite to view a waterfall.
 Then back on our circular route to...

 another waterfall.
 climbing gently upwards.

 taking in another waterfall (behind the trees)
 Looking backwards at where we've been.
 A breather and a paddle.
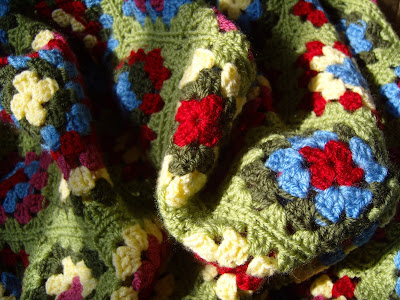
 Isn't this wall of flowers beautiful, this wall inspired my
  coming out the other side of
 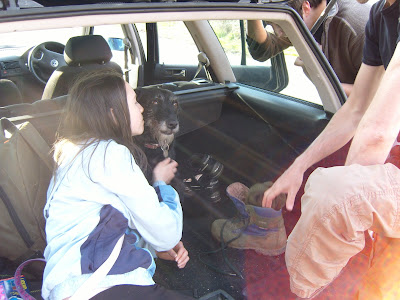 back to the car, even sneaky dog looks tired.
 driving over the
  there is a sheer drop on the left, hence the barrier.


 Here is my very untidy sewing table.
  You might be able to spy two little kittens on the table (not real ones!) One is knitted, but the other is crocheted and is made from my very own pattern, (inspired by the knitted one, which is not my pattern.) which I'm looking forward to sharing with you if you would like it.
 So prepare yourselves for a granny square overdose!
 And I must say on the whole it's been very enjoyable.
 I've crocheted in the garden


